Yesterday, I decided to make the images in my article look like they were on old, burnt paper. I did this manually in the GIMP.
I liked the effect, but I didn’t want the tedium of having to do all n steps manually next time I go to use it. So, I wrote a GIMP plugin script to do it.
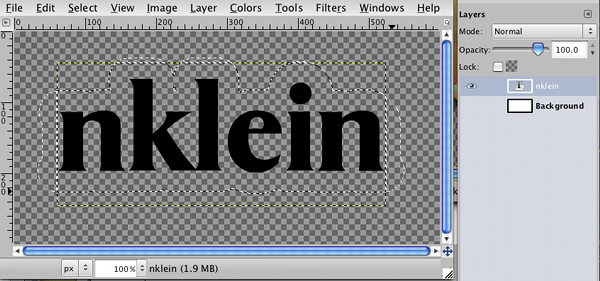
Here is an example of the plugin script in action. As you can see, I started with a text layer and a selection that was bigger than the text layer. The plugin uses the selection size as original edge of the paper (original, as in before the paper was burned).

And, here is the resulting image:

Here is the Burnt Paper plugin script. Plop this in a directory that’s in your script search path and refresh GIMP’s scripting and then you’ll find it in the Filters > Decor
menu. [You can see the script search path by going to Edit > Preferences
and selecting Scripts
under Folders
in the left sidebar. And, you can refresh the scripts by going to Filters > Script-Fu > Refresh Scripts
.]
